Installation Process
Your existing windows are cracking and peeling. You can’t get bedroom windows all the way open for fresh air on long summer nights. In cold weather months, a draft coming through your front window chills you to the bone. You know you need replacement windows, but you wonder what to expect in the installation process. Once you select a Milgard Certified Dealer, replacing your existing windows and patio doors is an easy and hassle-free four-step process.
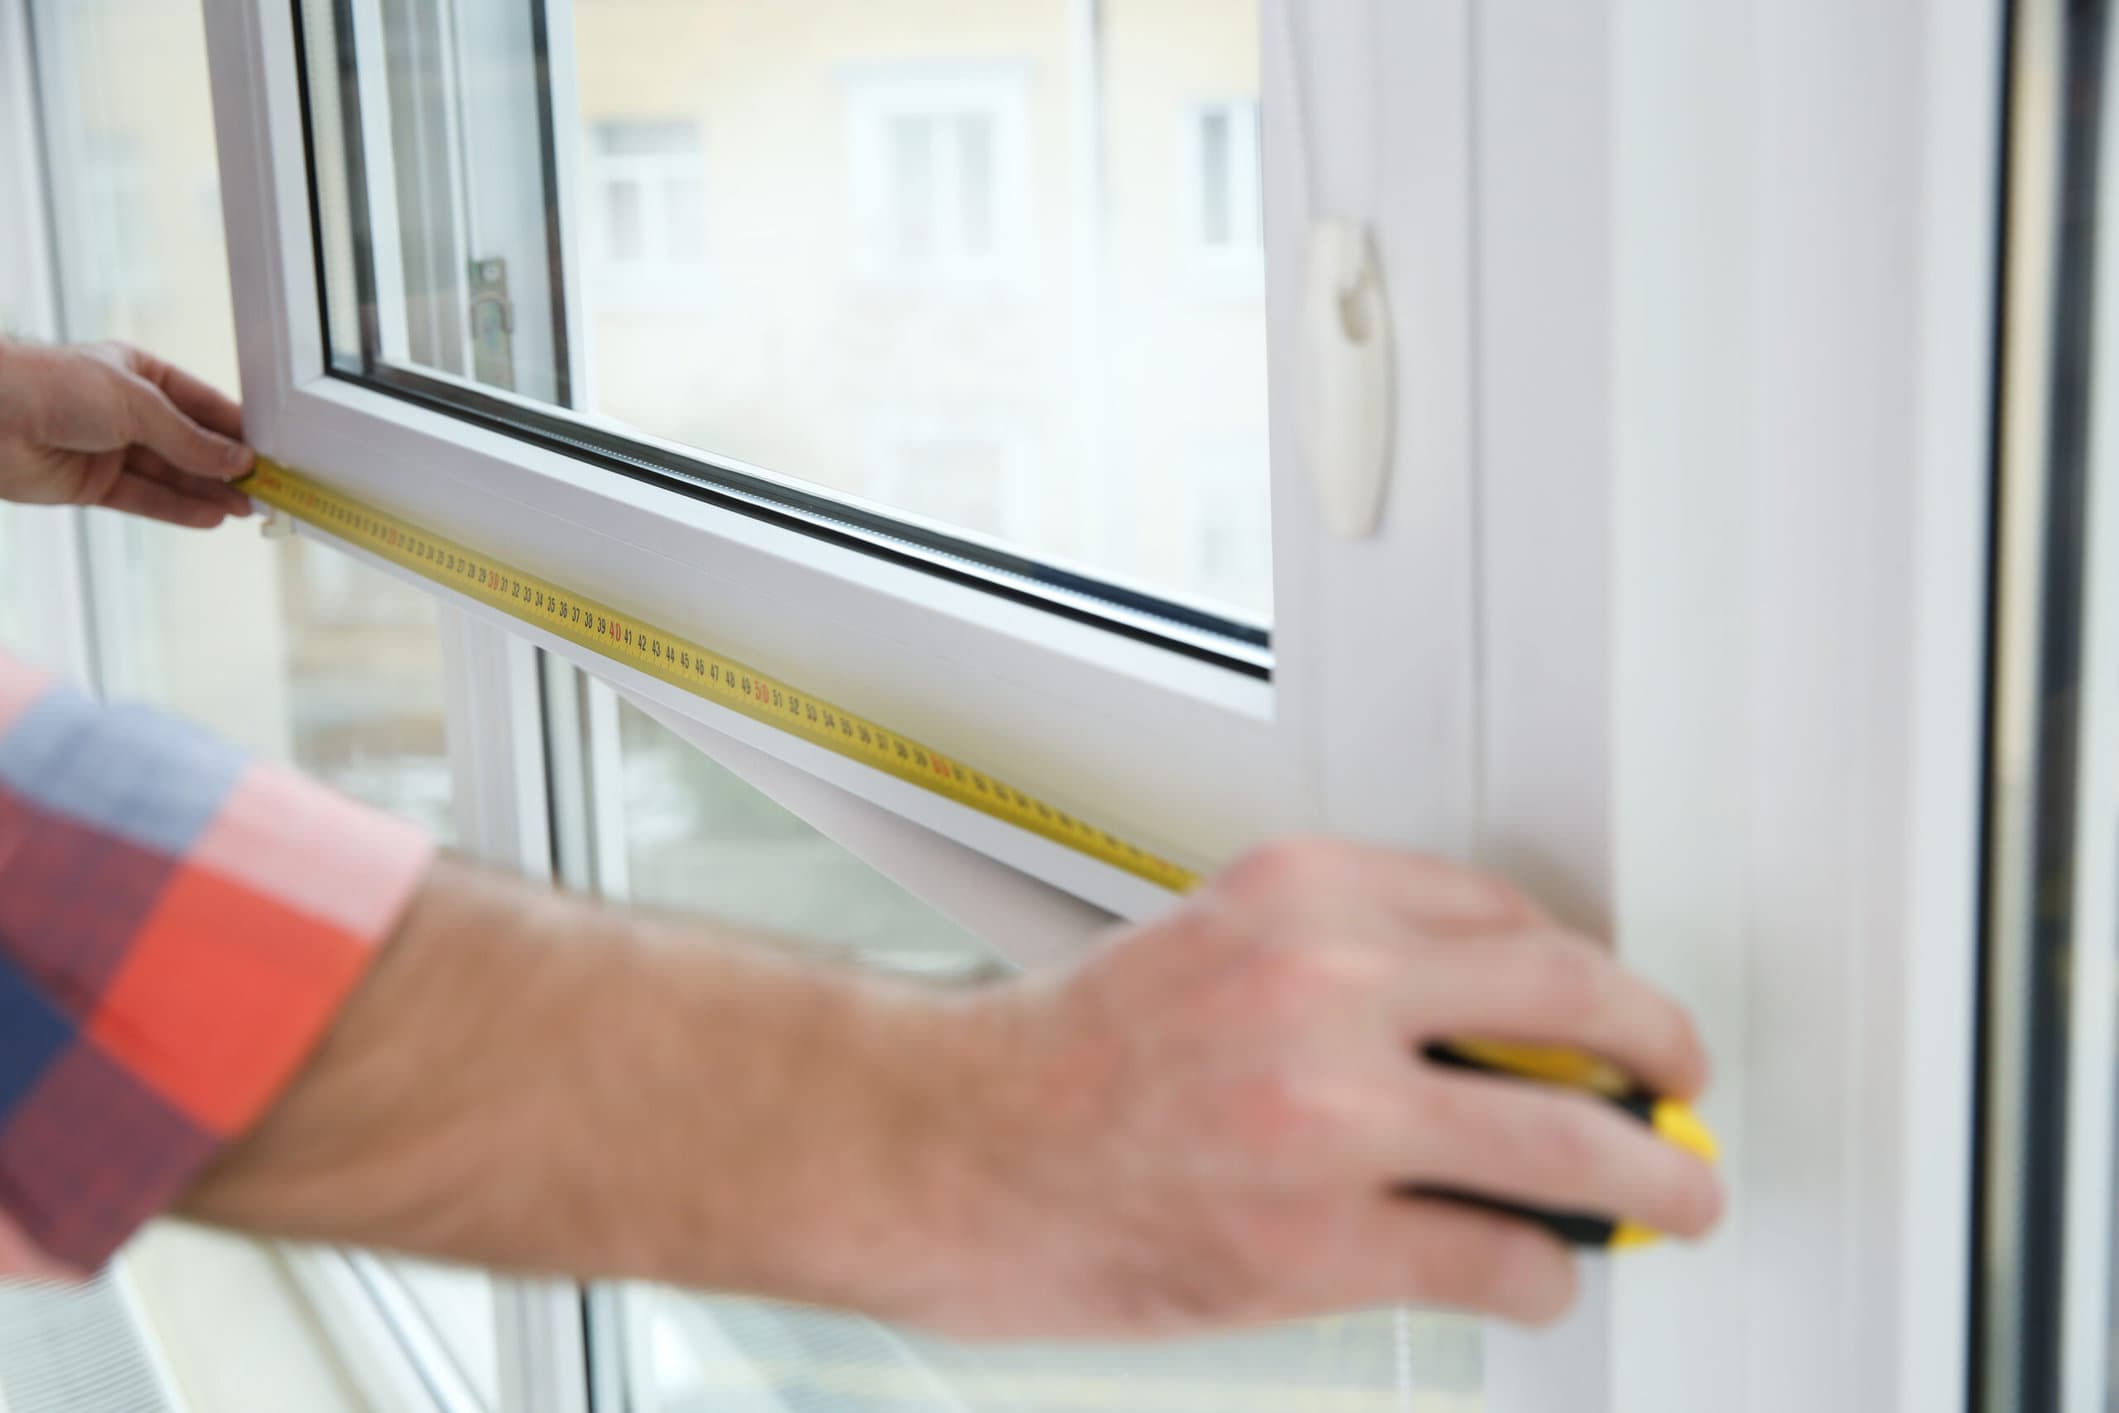
 1. Measure Opening Before any window or door is removed, your dealer measures each opening to ensure every unit is built to your required size. |  2. Remove Old & Install New Your Milgard dealer is experienced in knowing which method of installation is best for each type of home siding. |
 3. Insulate and Trim Interior Perimeter insulation is added to seal drafts. Interior trim, which varies by dealer, is hung to create a finished look. |  4. Seal and Finish Exterior Your dealer seals the exterior to make it watertight and does final touchup. That’s it. |
The Perfect Solution for Any Home
An important consideration when choosing replacement windows and doors is the exterior finish of your home. Our products can be installed in just about any type of home, whether it’s made of wood, brick, or even stucco.
In situations where installation is more difficult or minimum disruption is desired, Milgard’s Z-Bar™ windows (available in vinyl, fiberglass or aluminum) can be a perfect fit. By using a portion of the existing frame, these windows give your home a new look without costly or time-consuming siding repairs. They install quickly and provide a weather-tight seal.

